Dashboard sections
Welcome to the Uteach quick guide. We are happy to have you join us. Let’s take a brief overview of the dashboard sections to understand better how and where you can control your website activities.
Overview
The Dashboard is where you get access to all your data. It allows easy navigation to any section of your website.
Once you have logged in to your dashboard, you will see the navigation menu on the left and the main page.
The main page provides a quick overview and analysis of your website.

- My website button: to navigate back to your website.
- ? icon: Hit this icon if you have any further questions. You can also Watch a Demo Video to get help or visit our Support Center.

- The Bell icon displays all of the notifications. Notifications include any activity & interaction with your website. The digit on the bell shows the notification number.
- Your Avatar: Click here to access your profile or log out.
Next, you have another small section. Here you can personalize or edit the content of your website.
- Edit home page. By clicking on this, you are able to customize the structure & information displayed on the homepage.
- Create a new video course. Whenever you are ready to upload the course, click on this. Fill out the required information step by step & you are done.
- Add a new page. You are welcome to create a new page, such as Landing, Informational, or Blank.
- How to translate my website's interface, by clicking this, you will be redirected to the page where you can translate your site
Analysis
Here you gain access to your website's primary pages & general statistics.
- The Your School section allows access to your analytics at a glance. This includes all your users, Sales for the current month,Average Study Time,Certified students,Passed quizzes,Course completion rate.

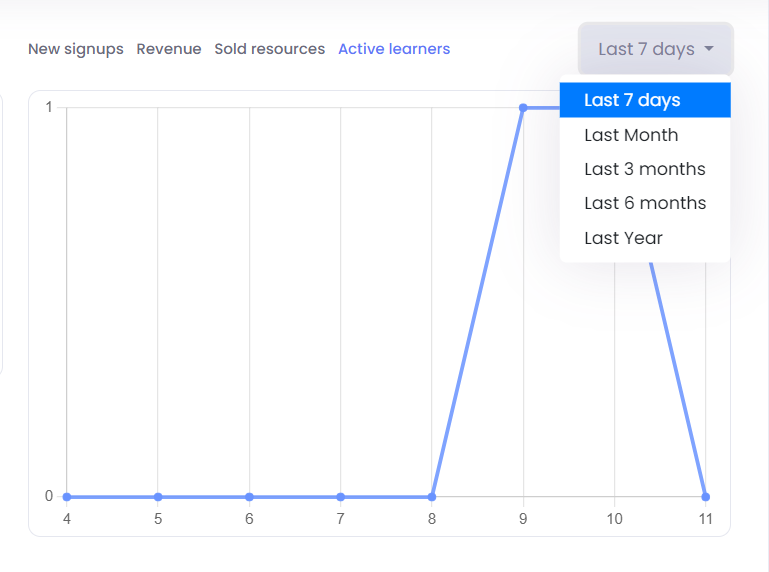
- On the right sidebar, you can see New users,Revenue of the website,Sold resources, Active learners, and you can filter by date.
- New users. Track the progress of new user registrations via this simple chart.

- The Resources section includes insights about your courses, products, live sessions, etc.

Navigation menu
The navigation menu on the left displays the primary features. It includes Marketing, Site Builder, blog, and many others. Just click on the feature you want for further customization.

- Your username: Clicking on the username will take you back to your website.
- Users: This tab provides access to see, create, edit, or delete Students, Admins, Authors & Groups. You can navigate to each subtab respectively.
- Learning content: Click on this tab to see, create or edit Courses, Quizzes, Live sessions, and certificates. These subtabs are listed below the main tab.
- Site Builder: Navigate to Site Builder to personalize your website. The subtabs provided below enable you to choose a theme & personalize website branding, add or delete pages, customize the site language, and build a website menu of your preferences.
- Marketing: Navigate to this section to manage every step connected with Marketing. For access, click on your desired subtab (Bundles, Memberships, Coupons, Brand Affiliate, Student Affiliate, CRM, Forms).
- Blog: Navigate to this section to see, create, or edit your articles.
- Mobile App: Navigate to this section to customize Mobile Application settings.
- Products: Navigate to this section to create a new product (digital/physical)
- Financial: Navigate to this section to manage financial details. Here you can choose your subscription, resubscribe, cancel the subscription, etc.
- Contact Us Messages: Navigate to this section to see all your message entries from the website’s Contact us section.
- Settings: Navigate to this section to access settings regarding aspects such as
- General- choose your website language, edit contact & sharing information, website policy, customize login/register settings, and some SEO details.
- Email- edit all messages that are sent from your website to Students, Authors & Admins with the help of examples.
- Domain- Here, you can add a new domain/subdomain and control the status of your domains.
- Integration- implement any of the provided integrations you want to work with.
- Video Meeting App- control which video meeting apps you want to conduct sessions.
- Support Center: Navigate to this section if you have any further questions.
If you have any questions about coupons, discounts, or anything at all, send us an email at [email protected] or click the blue icon below to chat 😊