How to create a new coaching session
Now let’s create a coaching session from 0.
To create, click the “Create a new coaching session” button. And here, you have 3 steps. First, choose the Coaching type.

In an Online coaching session, insert your meeting URL.
Activate the “Generate Custom URLs” if you want custom links in each scheduled session. The system will generate a new URL each time. This will work only when you attach your Google account to your website.

Next, Add the coaching session’s image, the title, the URL(if you won’t customize the URL, the system generates it from the title ),the description, and the price.

To make the session free, activate the Free toggle.

In the second step, add the session details, and click “Add a new session.”
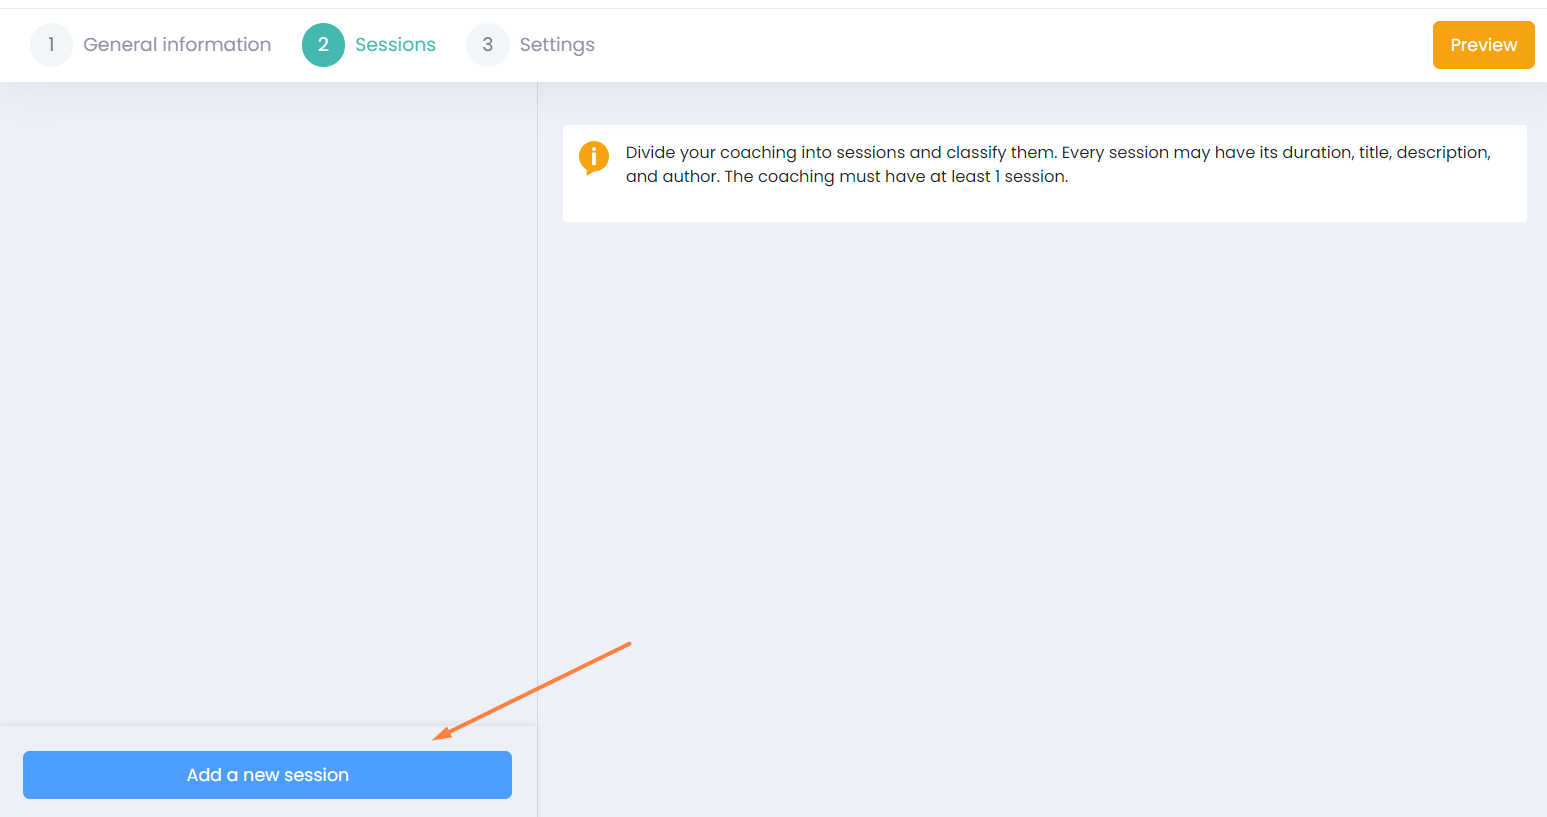
Here you should add the duration, title description, and author. Make changes and go to the next step.

The 3rd step is about Publishing and SEO settings. The first section allows you to set the status of the session.

- Draft - choose this option when the session is not ready for purchase
- Publish - choose this option so the students can access the session
- Unlisted - choose this option so only the students who have the link can access
- Private - choose this option so only those students will see the coaching session whom you will give access via email from the dashboard.
Next, we have the SEO settings section.
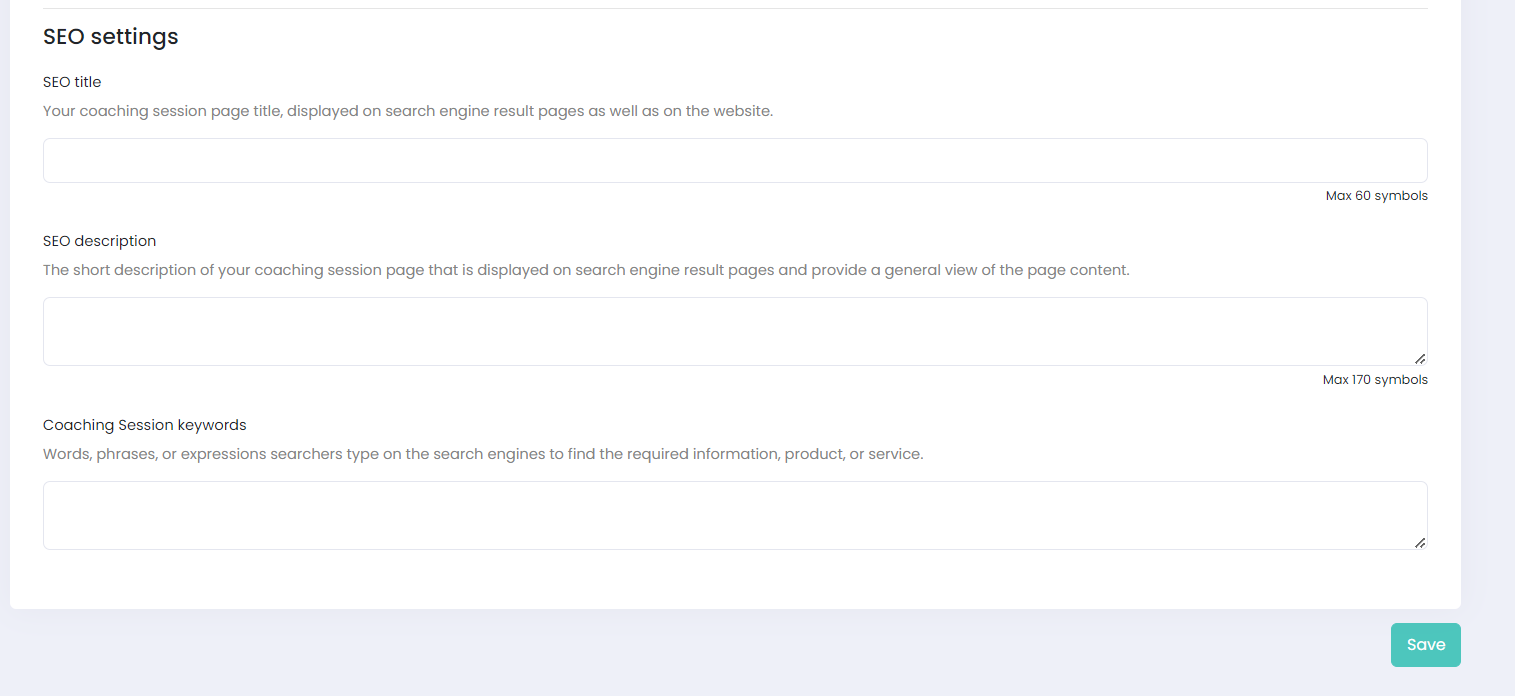
- SEO title - this will show on the search engine results page
- SEO description - below the title, searchers can read a short description
- Session keywords - add some words or phrases that searchers can use in the queries to find your session on the search engine results page.
Preview your session and then click Publish.

In an Offline coaching session, simply insert the meeting location.

If you have any questions, send us an email at [email protected] or click the blue icon below to chat.