Dashboard sections
Welcome to the Uteach quick guide. We are happy to have you join us. Let’s take a brief overview of the dashboard sections to understand better how and where you can control your website activities.
Overview
The Dashboard is where you get access to all your data. It allows easy navigation to any section of your website.
Once you have logged in to your dashboard, you will see the navigation menu on the left and the main page.

The main page provides a quick overview and analysis of your website.
Help icon: Hit this icon if you have any further questions. You can also Watch a Demo Video to get help or visit our Support Center.

- The Bell icon displays all of the notifications. Notifications include any activity & interaction with your website. The digit on the bell shows the notification number.
- Your Avatar: Click here to access your profile or log out.
Next, you have another small section. Here you can personalize or edit the content of your website.
- Create a course, product, live, and coaching sessions. Whenever you are ready to upload the content, click on them. Fill out the required information step by step & you are done.
Analysis
Here you gain access to your website's primary pages & general statistics.
- The Your School section allows access to your analytics at a glance. This includes all your users, Sales for the current month,Average Study Time,Certified students,Passed quizzes,Course completion rate.

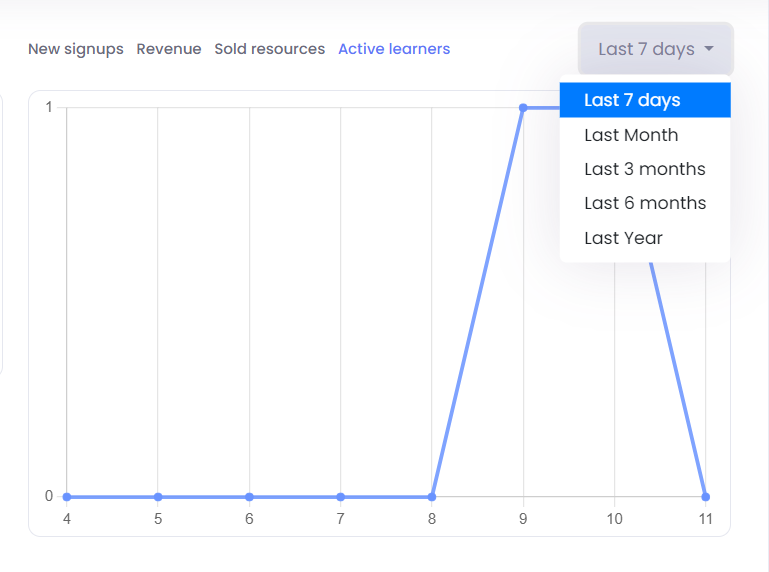
- On the right sidebar, you can see New users,Revenue of the website,Sold resources, Active learners, and you can filter by date.
- New users. Track the progress of new user registrations via this simple chart.

- The Resources section includes insights about your courses, products, live sessions, etc.

Navigation menu
The navigation menu on the left displays the primary features. Just click on the feature you want for further customization.
- Your username: Clicking on the username will take you back to your website.
- Users: This tab provides access to see, create, edit, or delete Students, Admins, Authors & Groups. You can navigate to each subtab respectively.
- Courses: Click on this tab to see, create or edit courses.
- Products: Click on this tab to see, create or edit products.
- Live Sessions: Click on this tab to see, create or edit live sessions.
- Communities: This tab provides access to view, create, edit, or delete various Communities within the platform.
- Coaching: This tab allows you to access and manage coaching sessions, including scheduling, conducting, and tracking progress.
- AI Idea Generator: This tool assists in generating new ideas based on AI algorithms. It’s useful for brainstorming sessions, content creation, or generating fresh concepts for courses, blogs, and marketing strategies.
- Teaching Materials: This section lets you manage and organize teaching resources.
- Quizzes: Create, edit, and manage quizzes for your courses, helping to assess and reinforce learning.
- Certificates: Design and distribute certificates to students upon completion of courses or specific learning milestones.
- Site Builder: This tab provides tools to build and customize your website.
- Theme Explorer: Browse and select themes to define the visual style of your site.
- Pages: Create, edit, and organize the pages of your website.
- FAQ: Manage the Frequently Asked Questions section to help users find answers to common inquiries.
- Menu Builder: Customize the navigation menu for your site, making it easier for users to find content.
- Footer: Edit the footer section of your website, where you can add important links, contact information, and other details.
- Branding: Manage branding elements such as logos, colors, and typography to maintain a consistent identity across your site.
- Site Language: Set and manage the language options for your site to cater to a multilingual audience.
- Marketing: This tab includes tools for managing your marketing efforts.
- Bundles: Create and manage product or course bundles to offer combined deals.
- Memberships: Set up and manage membership plans to offer exclusive content or benefits to your users.
- Coupons: Create and manage discount coupons to attract more users or encourage purchases.
- Brand Affiliate: Manage brand affiliate programs to expand your reach through partnerships.
- Student Affiliate: Oversee student affiliate programs where students can earn rewards by promoting courses or products.
- CRM: Access and manage the Customer Relationship Management system to track interactions and manage customer data.
- Forms: Create and manage forms to capture leads, feedback, or other essential information from users.
- Blog: Navigate to this section to see, create, or edit your articles.
- Mobile App: Navigate to this section to customize Mobile Application settings.
- Financial: This section provides tools to manage your finances.
- My Plan: View and manage your current subscription plan, including upgrades or downgrades.
- My Profit: Track your earnings and view financial reports to understand your revenue streams.
- Payment Gateway: Set up and manage payment gateways to facilitate smooth transactions on your platform.
- Add-ons: Purchase and manage add-ons to enhance the functionality of your platform.
- Contact Us Messages: Navigate to this section to see all your message entries from the website’s Contact us section.
- Settings: Customize the overall configuration of your platform.
- General Settings: Adjust the general settings of your platform, such as time zones, currencies, and default behaviors.
- Email Settings: Manage email templates, notifications, and communication settings to ensure consistent and professional outreach.
- Domain: Set up and manage your domain settings, including custom domains and subdomains.
- Integrations: Connect your platform with external tools and services to expand its capabilities and streamline operations.
- Support Center: Navigate to this section if you have any further questions.
If you have any questions about coupons, discounts, or anything at all, send us an email at [email protected] or click the blue icon below to chat 😊