How to send and get automated emails
Uteach comes in handy with lots of automated tools. And sending automated emails is not an exception. This feature saves a great deal of time as you don’t have to send emails manually whenever a change occurs.
The system does it all for you, and all you have to do is activate the automated emails feature.
Here’s how to achieve it.
- Go to the Settings tab from your dashboard.
- Navigate to the Email settings subsection.
Based on the case, there are several subsections where you can send emails.
- Registration
- Password reset
- Role Change
- Video Course
- Quiz
- Live session
- Product
- Bundle
- Membership
- Certificate
- Coaching

As you navigate to each section, you will see the automated email example for each case. Choose the group where you want to enable or disable the automation feature.
Note. The emails are sent to the students, admins, and authors.
Next to each case, you can see the activation toggle.

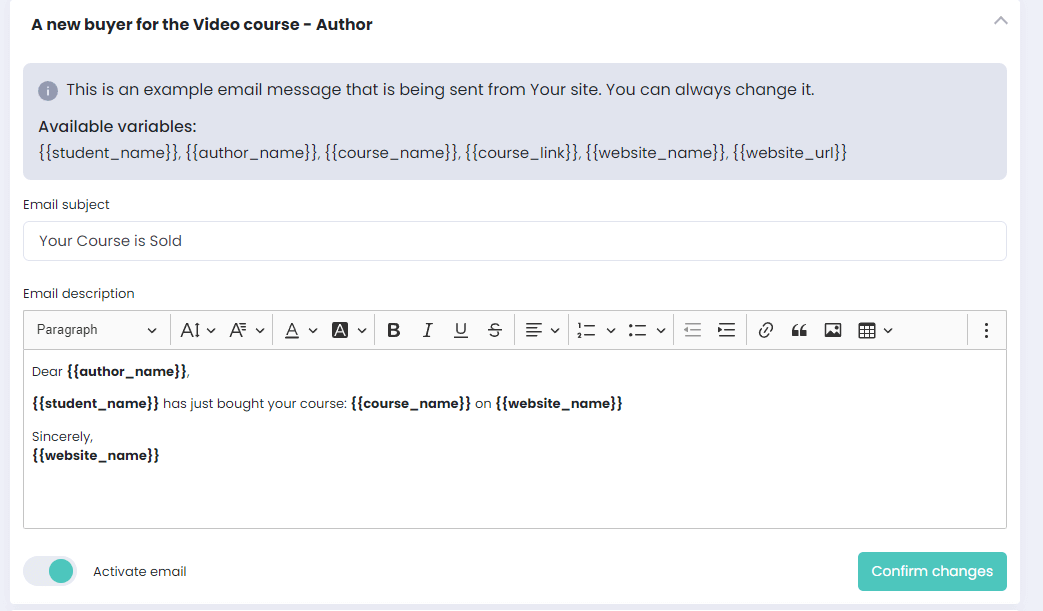
Please note. These are example email messages that are being sent from Your site. You can always change it.
To edit the automated emails, click on the corresponding field and edit the subject and the email content. Do not forget to activate the email and confirm changes.

Important Note: The variables (those written in braces) should not be changed so that the system can generate the required information for each user. If you change the variables, the personalized email will not work.
For example, if you activate the button, as shown in the picture below, the admin will get an automated email when a student buys the video course.
To disable an automated email about a particular case, you can set the toggle status as inactive anytime. As simple as that!
If you have any questions about coupons, discounts, or anything at all, send us an email at [email protected] or click the blue icon below to chat.