How to create pages
When you set up your website, it comes with a different range of pages, including Homepage, Quizzes, Blog, Live lessons, Courses, Products, and Contact.
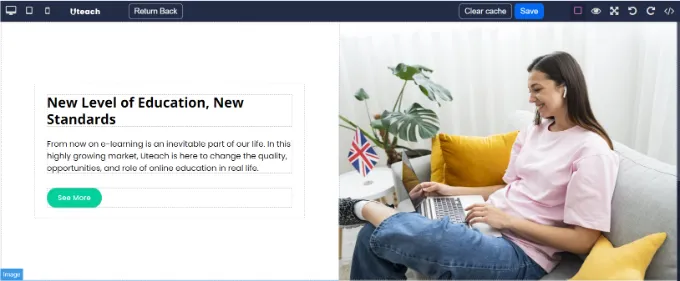
However, you can create a new page or edit the existing one anytime.
- Go to the Site builder tab from your dashboard.
- Navigate to thePages section.
All your current pages will be displayed here.

- The “eye” icon allows you to preview the page
- The “home” icon sets the page as the Homepage
- 📝clicking on this icon, you can edit details about the page such as Title, SEO details, and the like.
- ✏️ icon allows you to edit the page construction
Click on the Create New Page button to add a new page.

This is where you can fill in the main information about your pages, such as
Page title - this will be visible to website visitors
Friendly URL - will be generated automatically based on the page title you inserted. You can edit it as you like even after saving changes. However, remember to change the previous link also for the pages wher you used it. So, you will not have any error 404.
Meta image - whenever someone shares your page link, the meta image will also show below the link. Note that the image cannot exceed the limit of 1200 x 628 px.
Meta title- whenever someone inserts a query, this title will show on search engine page results.
Meta description - write a short description of up to 150 words to help search engines rank your website. Remember to include some keywords.
Meta keywords - these words and phrases will show that your page is relevant to the searcher’s query.
Next up, we have the Status toggle. Activate this to make your page visible and available. For creating a new page, there are 3 types to choose from.
- Landing page
- Informational page
- Blank page

Creating a Landing page
Choose the landing page option and click on the Next button.
You can optimize the page for desktop and mobile devices.
Creating an Informational page
An informational page differs from a landing one in its design. You can change and customize your page as you like.
To create such a page, choose the informational page option and click the Next button.

Creating a Blank page
The informational and landing pages are built on a particular template, which you can modify. However, choose the Blank page option if you like to build the page from scratch.

You can duplicate or delete those pages anytime.
Overall, the page builder section is completely editable so that you can create a page to your liking and taste.
Access Uteach’s youtube channel to watch tutorials about editing your homepage.
If you have any questions about coupons, discounts, or anything at all, send us an email at [email protected] or click the blue icon below to chat 😊