How to create a manager profile
The Manager role is a specialized user type available exclusively on the Business Plan. It allows organizations to grant limited, group-specific access to team members such as coordinators, supervisors, or client representatives—without giving them full administrative control.
This role is essential for distributed team management, corporate training environments, or any setup where oversight needs to be segmented by groups. In this article, you'll learn how to create a Manager profile and assign them to specific groups so they can view relevant data—while keeping the rest of the platform secure and restricted.
1. Step-by-Step: Creating a Manager
- Log in as an Admin.
- Go to Users → Managers from the sidebar.
- Click “+ Create a new manager”.
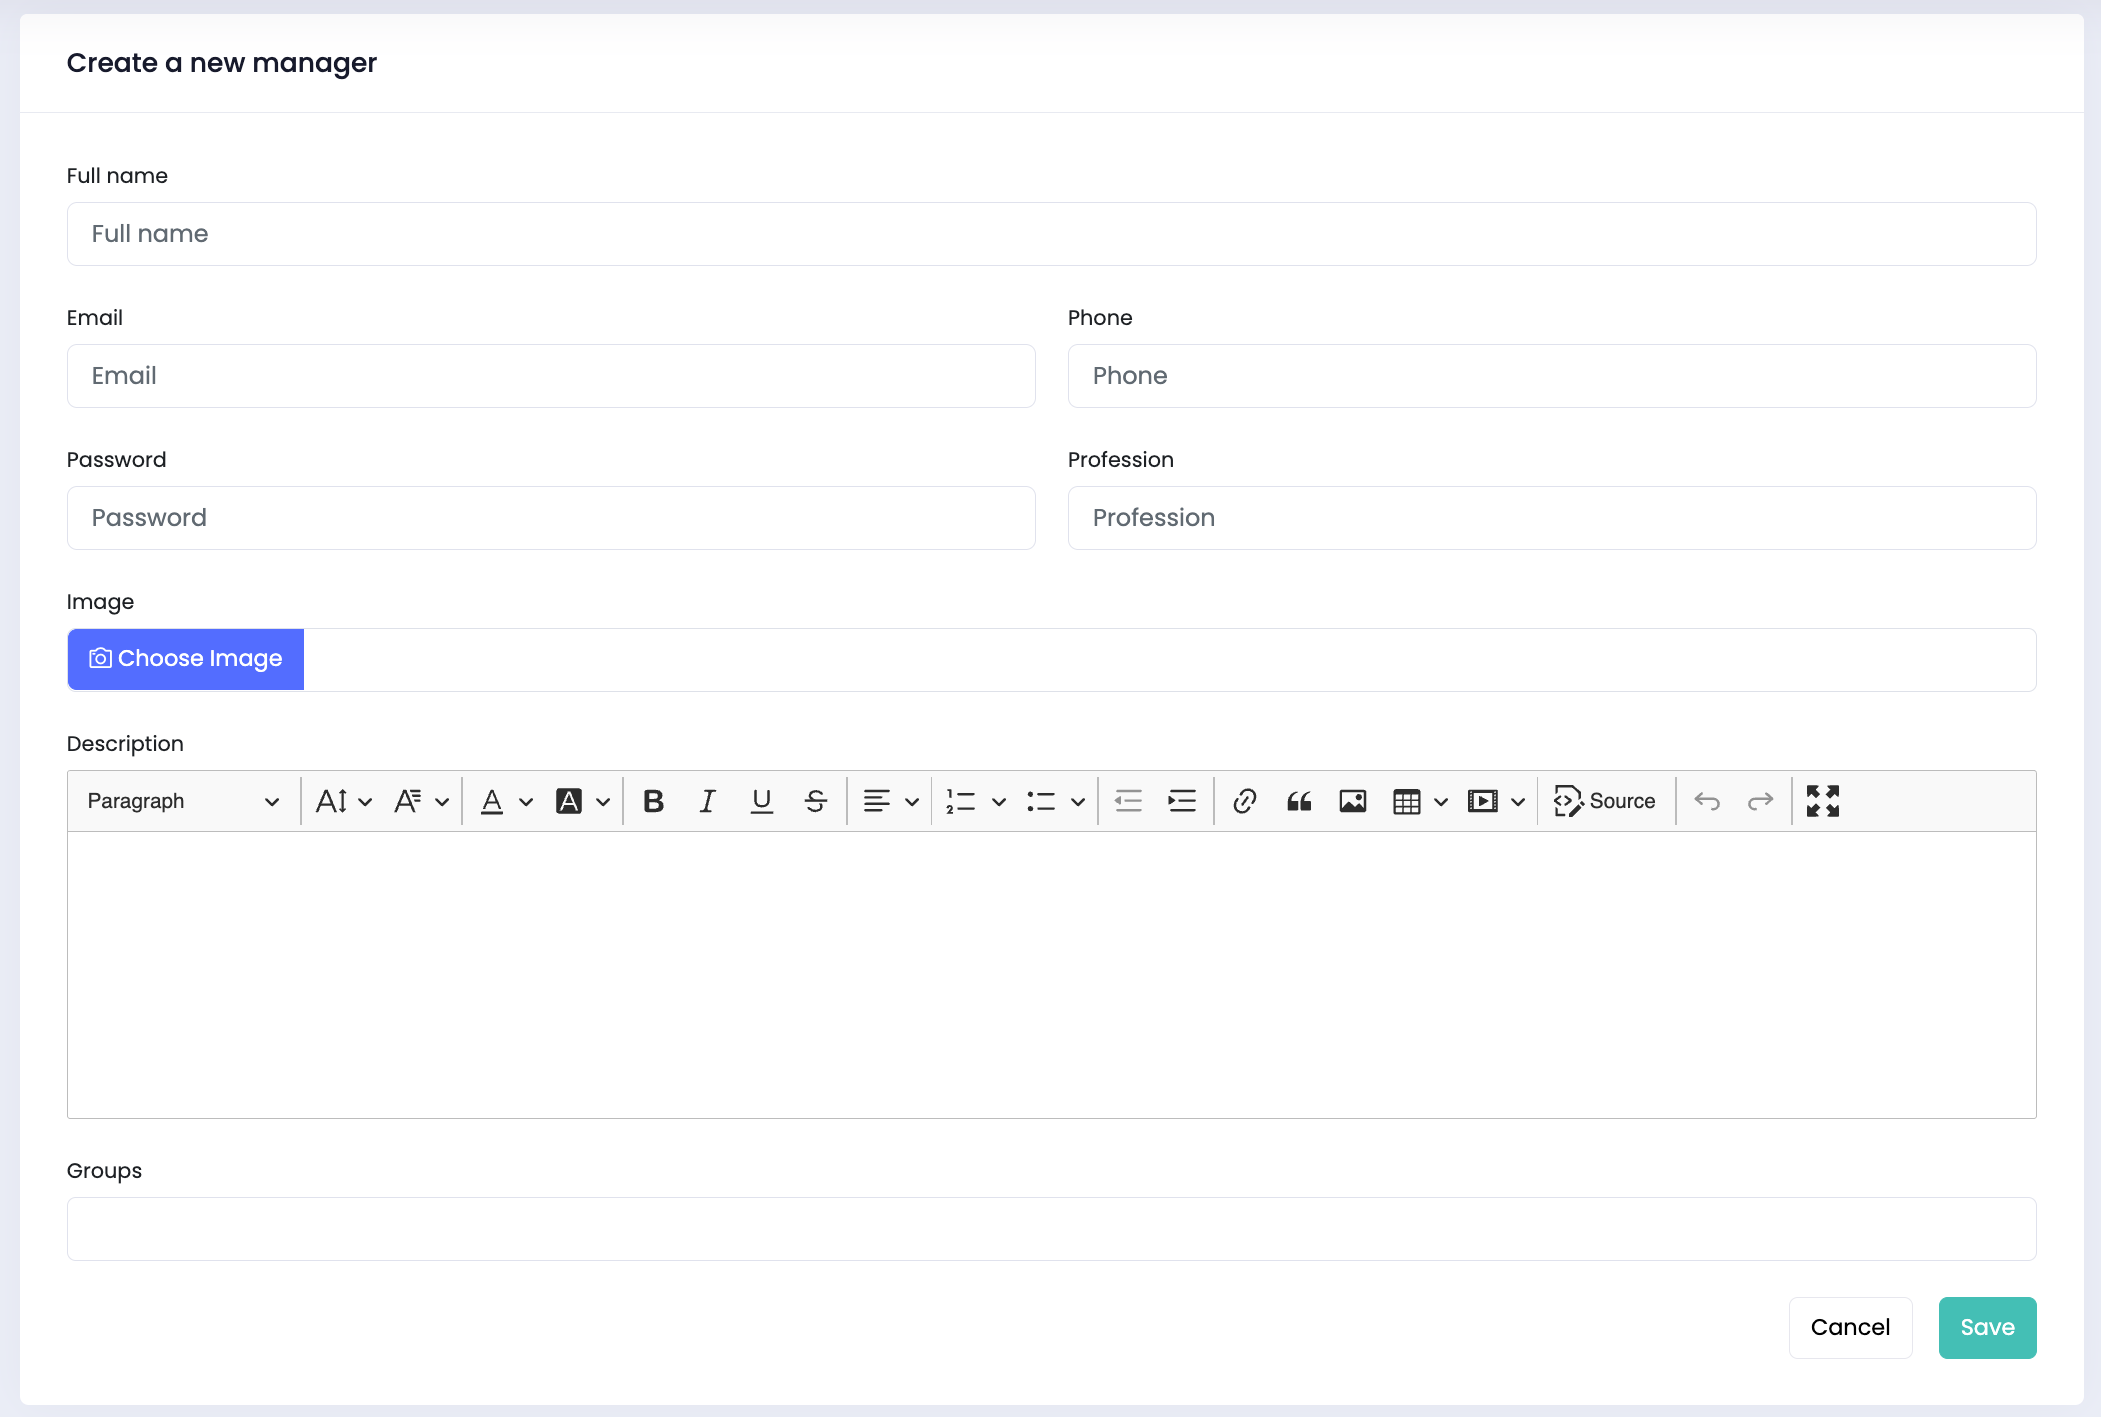
2. Fill in the Manager Details
You’ll be taken to a form. Complete the following fields:
- Full Name
- Password
- Phone Number
- Profession
- Upload a Profile Image
- Optional Description
3. Assign Group(s)
At the bottom of the form:
Use the "Assign to Groups" dropdown to select one or more groups the manager should have access to.
Only the selected groups' data will be visible to this manager.
Click Save to create the manager profile.
Note: Managers cannot access all areas of the platform — they are restricted to only the groups assigned to them.
Need to make changes later? You can always edit or delete a manager via the Users → Managers section.
Author![{"id":2,"user_id":25,"slug":"lusine-mkhitaryan","full_name":"Lusine Mkhitaryan","position":"Customer Support Specialist","tagline":"Customer Support Specialist","image":"uteach\/authors\/LxVlxPVHH6bKnNI51DR8-1743576946\/t02qfsy3cq2-u02u10sqk1q-727b0c81e36f-512.jpg","short_text":"I\u2019m a motivated Customer Support Specialist who thrives on making every customer experience smoother, more efficient, and more positive. \r\n\r\nI am dedicated to addressing customer needs with empathy, professionalism, and efficiency, always aiming to provide clear and effective solutions.\r\n\r\nMy approach emphasizes understanding the unique challenges customers face and finding creative ways to resolve them. I\u2019m passionate about streamlining support processes, optimizing workflows, and using innovative tools to deliver the best possible outcomes for customers.","education":"<ul><li>Bachelor's in English Language and Literature, Brusov State University\u00a0<\/li><li>Certified in Customer Service: Managing Customer Expectations<\/li><li>Certified in Innovative Customer Service Techniques<\/li><li>Certified in Working with Upset Customers<\/li><\/ul>","experience":"<ul><li>Customer Support Specialist at Uteach\u00a0<\/li><li>Digital Marketing Specialist at Munich Ventures\u00a0<\/li><li>Learning Platform Coordinator at WooChess\u00a0<\/li><li>E-commerce Administrator at Hafo.am\u00a0<\/li><li>Content Writer at Armenia Discovery<\/li><\/ul>","social_insta":null,"social_fb":null,"social_twitter":null,"social_linkedin":"https:\/\/www.linkedin.com\/in\/lusine-mkhitaryan","meta_title":"Lusine Mkhitaryan | Uteach Authors","meta_keywords":null,"meta_description":null,"json_ld":"{\r\n \"@context\": \"https:\/\/schema.org\",\r\n \"@type\": \"Person\",\r\n \"name\": \"Lusine Mkhitaryan\",\r\n \"jobTitle\": \"Customer Support Specialist\",\r\n \"worksFor\": {\r\n \"@type\": \"Organization\",\r\n \"name\": \"Uteach\",\r\n \"url\": \"https:\/\/uteach.io\"\r\n },\r\n \"alumniOf\": {\r\n \"@type\": \"EducationalOrganization\",\r\n \"name\": \"Brusov State University\"\r\n },\r\n \"hasCredential\": [\r\n {\r\n \"@type\": \"EducationalOccupationalCredential\",\r\n \"name\": \"Customer Service: Managing Customer Expectations\"\r\n },\r\n {\r\n \"@type\": \"EducationalOccupationalCredential\",\r\n \"name\": \"Innovative Customer Service Techniques\"\r\n },\r\n {\r\n \"@type\": \"EducationalOccupationalCredential\",\r\n \"name\": \"Working with Upset Customers\"\r\n }\r\n ],\r\n \"knowsAbout\": [\r\n \"Customer Support\",\r\n \"Workflow Optimization\",\r\n \"Support Automation\",\r\n \"Empathy in Service\",\r\n \"Conflict Resolution\"\r\n ],\r\n \"sameAs\": [\r\n \"https:\/\/www.linkedin.com\/in\/lusine-mkhitaryan\/\"\r\n ]\r\n}","created_at":"2025-01-24T16:10:14.000000Z","updated_at":"2025-04-24T22:38:45.000000Z"}](https://d35v9chtr4gec.cloudfront.net/uteach/authors/LxVlxPVHH6bKnNI51DR8-1743576946/t02qfsy3cq2-u02u10sqk1q-727b0c81e36f-512.jpg)