How to create product category
Creating a product may be the perfect solution, providing a dynamic and interactive way to educate and engage your audience. You can organize your products by adding categories for your website students.
To add categories to your products, follow the steps below
- Log in to your dashboard > Products
- Click on the Categories button

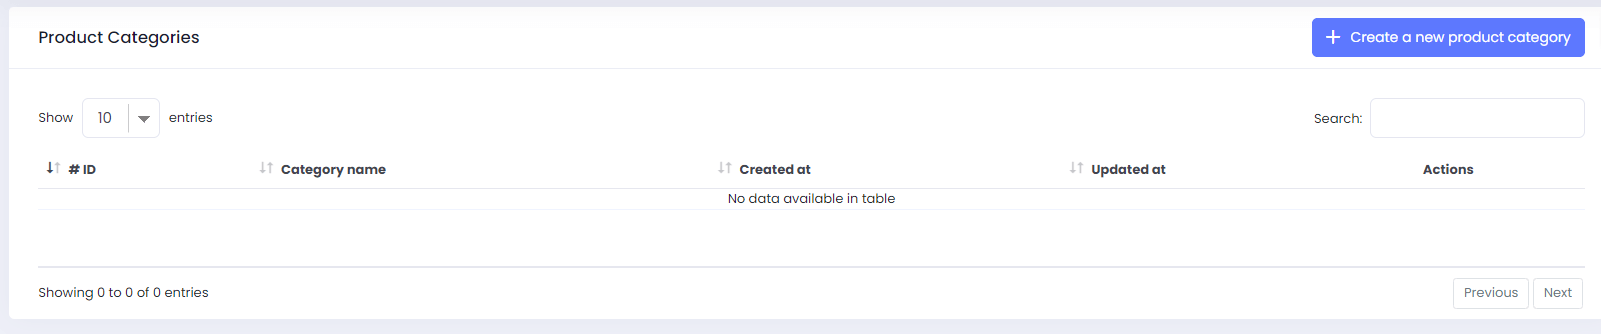
- Then click on Create a new product category
- Add the category name and click Save

After adding them you can see the list here.

In the action bar you can
- edit the category
- add new product to that category
- delete the category
Your next step will be editing the products by adding the already-created categories.

Once you edited all products. You should activate the product filtering toggle to make these categories active on-site.
To do so, follow the path Dashboard> Settings>General settings>Product filtering. Activate the toggle.

After toggle activation, go to your product page and check how it will be available for your students.

On the left part, students can
- Search a product
- see only free ones
- sort them by price,categories,authors
- clean applied filters
Also, they can sort the products as
- Featured
- Low to high price
- High to low price
- Most popular
If you have any questions about coupons, discounts, or anything at all, send us an email at [email protected] or click the blue icon below to chat :blush: